
Mixer Pump Troubleshooting Guide for Commercial Tank Trucks

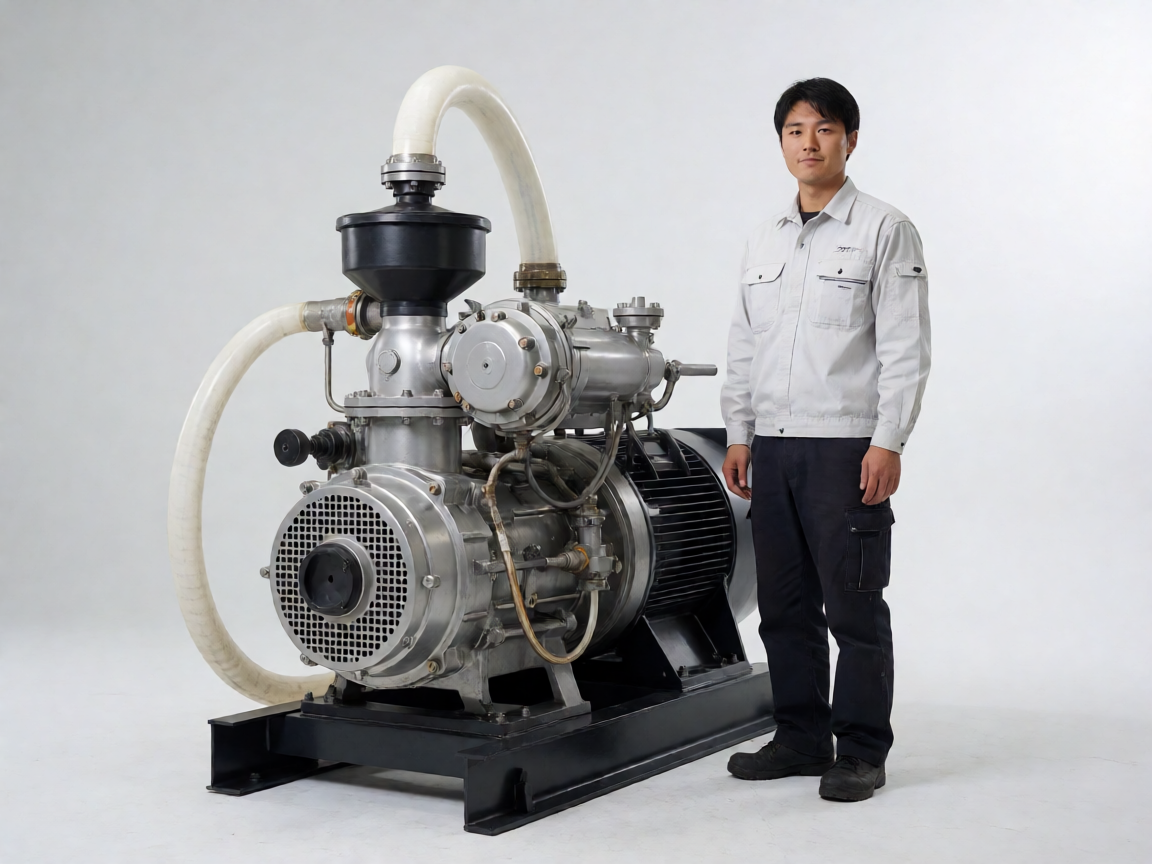
mixer pump troubleshooting Safety Overview
Mixer pump troubleshooting is one of the most critical skills for keeping batch-mix trucks and chemical tanker fleets operational on the road. When a discharge pump loses prime, leaks seals, or stalls under load, the entire dispatch schedule collapses. This guide walks through the most frequent failure patterns and the diagnostic steps that separate quick field fixes from costly teardowns.
Common Causes of Mixer Pump Failure
Air Entering the Suction Line (Cavitation)
Air leaking into the suction side of the pump creates cavitation, which sounds like gravel rattling through the casing. Cavitation erodes impeller vanes and destroys bearing surfaces within hours if the condition persists. Fleet managers often miss early warning signs because the pump still delivers flow at reduced capacity.
Solution: Inspect every suction hose clamp, gasket, and flange connection before the first shift of the day. Replace hardened suction-line O-rings proactively, and verify that the tank-level sensor readings match the physical dip-stick measurements. If air continues to enter despite tight connections, replace the entire suction hose assembly, as internal deterioration can create invisible channels for air ingestion.
Worn Mechanical Seal
The mechanical seal on a mixer pump prevents product from escaping along the rotating shaft. Wear on the seal faces occurs naturally over thousands of cycle hours, but premature failure often results from dry running, contaminated fluid, or improper installation during a previous service. A leaking seal produces a steady drip or spray at the shaft housing, which damages surrounding components and creates hazardous spill conditions on the loading bay floor.
Solution: Replace the mechanical seal whenever you perform routine pump servicing, even if the existing seal appears functional. Use a seal kit that matches the exact pump model rather than attempting to mix matched parts from different manufacturers. Lubricate the seal faces with clean hydraulic oil during installation, and verify that the shaft runs true within 0.05 mm runout before tightening the housing bolts.
Clogged or Damaged Discharge Valve
Residual material hardening inside the discharge valve is a leading cause of pump performance loss. Concrete slurry, bitumen emulsion, and certain chemical products form crust deposits that restrict flow passage. The operator notices reduced discharge pressure and longer cycle times between loading sequences.
Solution: Flush the discharge line with the appropriate solvent or warm water immediately after each unload cycle. Inspect the valve seat and disc for pitting or erosion during monthly maintenance checks, and replace worn valve components before they cause complete blockage. For products that tend to固化, install a heated discharge line or schedule hot-soak cleaning at the end of every workday.
Hydraulic Power Unit Malfunction
Many mixer pumps derive driving torque from the truck hydraulic system rather than a dedicated electric motor. Low hydraulic fluid level, a degraded pump within the power unit, or a faulty relief valve all reduce the torque available at the pump shaft. Operators commonly mistake hydraulic power loss for a pump mechanical failure, which leads to unnecessary parts replacement and extended downtime.
Solution: Verify the hydraulic reservoir fluid level and condition before inspecting the pump itself. Check system pressure at the pump inlet port with a calibrated gauge, and compare the reading against the manufacturer specification. If pressure drops under load, inspect the hydraulic filter for contamination and replace it along with the filter element. In addition, flush the hydraulic lines if metal particles appear in the fluid, as those particles indicate internal wear in the power unit pump.
Shaft Coupling Failure
The coupling that connects the pump input shaft to the drive motor or PTO absorbs vibration and accommodates minor misalignment between components. A failed coupling presents as sudden loss of pump rotation or unusual vibration and noise during operation. Rubber or urethane spider elements crack over time from heat cycling and chemical exposure, while metallic couplings suffer from fretting at the spline interface.
Solution: Inspect the coupling element every 500 operating hours, and replace it immediately if cracks, missing chunks, or excessive play are visible. Use a laser alignment tool or dial indicator to verify shaft alignment after any coupling replacement, because even slight misalignment rapidly accelerates bearing wear on both the pump and the drive source.
Worn or Damaged Impeller
The impeller is the primary rotating component that transfers energy to the pumped fluid. Abrasive materials such as cement, sand-laden slurries, or recycled chemical products gradually erode the impeller vanes and reduce the pump head capacity. Severe erosion creates imbalance that induces vibration and eventually causes bearing failure.
Solution: Measure the impeller clearance against the wear plate during annual overhaul. Replace the impeller when vane thickness has decreased by more than 25 percent of the original specification. Balance any replacement impeller to within the manufacturer tolerance, and inspect the wear plate simultaneously because a worn wear plate accelerates impeller damage on the next service interval.
Systematic Diagnostic Procedure
Effective mixer pump troubleshooting follows a logical sequence that prevents misdiagnosis and unnecessary disassembly. Start each diagnostic session by confirming the symptom under controlled conditions before removing any components.
- Run the pump at low speed with the discharge valve open and observe flow volume and pressure stability.
- Listen for abnormal noises such as cavitation rattling, bearing growling, or metallic grinding that indicates contact between rotating and stationary parts.
- Check all electrical connections and solenoid valves on electronically controlled pumps, because a single loose ground strap can mimic a complete pump failure.
- Measure inlet and outlet pressures with calibrated gauges and compare them to the performance curve provided by the pump manufacturer.
- Inspect the fluid being pumped for incorrect viscosity or contamination that may exceed the pump design limits.
After completing the initial observations, proceed to component-level inspection only if the root cause remains unclear. This approach saves significant labor time and prevents the common mistake of replacing healthy parts while the actual fault goes undetected.
Preventive Maintenance Recommendations
Consistent preventive maintenance dramatically reduces the frequency and severity of mixer pump failures. Establish a maintenance schedule that aligns with your fleet operating patterns and the specific products each truck handles.
Daily Checks
Drivers and pre-trip inspectors should verify pump oil level, inspect for visible leaks around the seal housing, and confirm that the discharge valve opens and closes smoothly. Listen for unusual noises during the first pump cycle of the shift, because early-stage faults are easiest and cheapest to address at that point.
Weekly Inspections
The maintenance technician should check coupling condition, inspect all hose assemblies for swelling or abrasion, and test the hydraulic system pressure if the pump is hydraulically driven. Clean the external cooling fins on electric motor-driven pumps to maintain proper thermal management.
Monthly Service
Replace the hydraulic filter on hydraulically driven units, drain and inspect the pump oil reservoir, and verify that all mounting bolts meet the specified torque values. Inspect the suction and discharge hoses for internal lining deterioration that may not be visible from the outside.
Annual Overhaul
Disassemble the pump completely during the annual service interval. Replace all seals, gaskets, and wear rings regardless of apparent condition. Measure bearing clearance and replace bearings if radial play exceeds specification. Reassemble using only manufacturer-approved parts, and perform a hydrostatic test at 1.5 times the rated pressure before returning the pump to service.
Operational Best Practices
Proper operating technique extends pump service life and reduces the likelihood of emergency breakdowns in the field. Avoid running the pump dry for more than 30 seconds, as the seal faces require fluid film for lubrication and cooling. Never close the discharge valve while the pump is running unless the pump is specifically designed for dead-headed operation, because closed-valve operation generates excessive heat that destroys seals and damages bearings.
Additionally, ensure that the pumped fluid remains within the specified temperature and viscosity range. Pumping fluid that is too viscous overloads the drive motor and trips circuit breakers, while fluid that is too thin increases internal leakage and reduces volumetric efficiency. If your application requires pumping hot asphalt emulsion or cold liquid nitrogen, confirm that the pump materials and seal construction are rated for the extreme temperatures involved.
When to Replace Rather Than Repair
Sometimes the most economical decision is to replace a pump entirely instead of investing in extensive rebuild work. Consider replacement when the pump casing shows cracked castings, when the shaft diameter has worn beyond the allowable rebuild limit, or when the cost of bearings, seals, and labor approaches 70 percent of a new unit price. Rebuilt pumps from reputable manufacturers often carry the same warranty as new units, and the downtime saved by swapping a complete assembly rather than rebuilding on-site can justify the higher parts cost.
For fleet operators managing multiple vehicles, keeping one spare pump per three trucks in stock provides substantial insurance against extended outages. Stocking the spare at the depot level eliminates the delay and expense of emergency freight when a pump fails during a critical delivery window.
Conclusion
Mixer pump troubleshooting combines systematic diagnosis with disciplined preventive maintenance. Understanding how each component contributes to overall pump performance enables technicians to isolate faults quickly and restore service with minimal disruption. By following the diagnostic procedures and maintenance schedules outlined in this guide, maintenance engineers and fleet operators can reduce unplanned downtime, lower total cost of ownership, and maintain consistent delivery schedules across their commercial vehicle operations.


